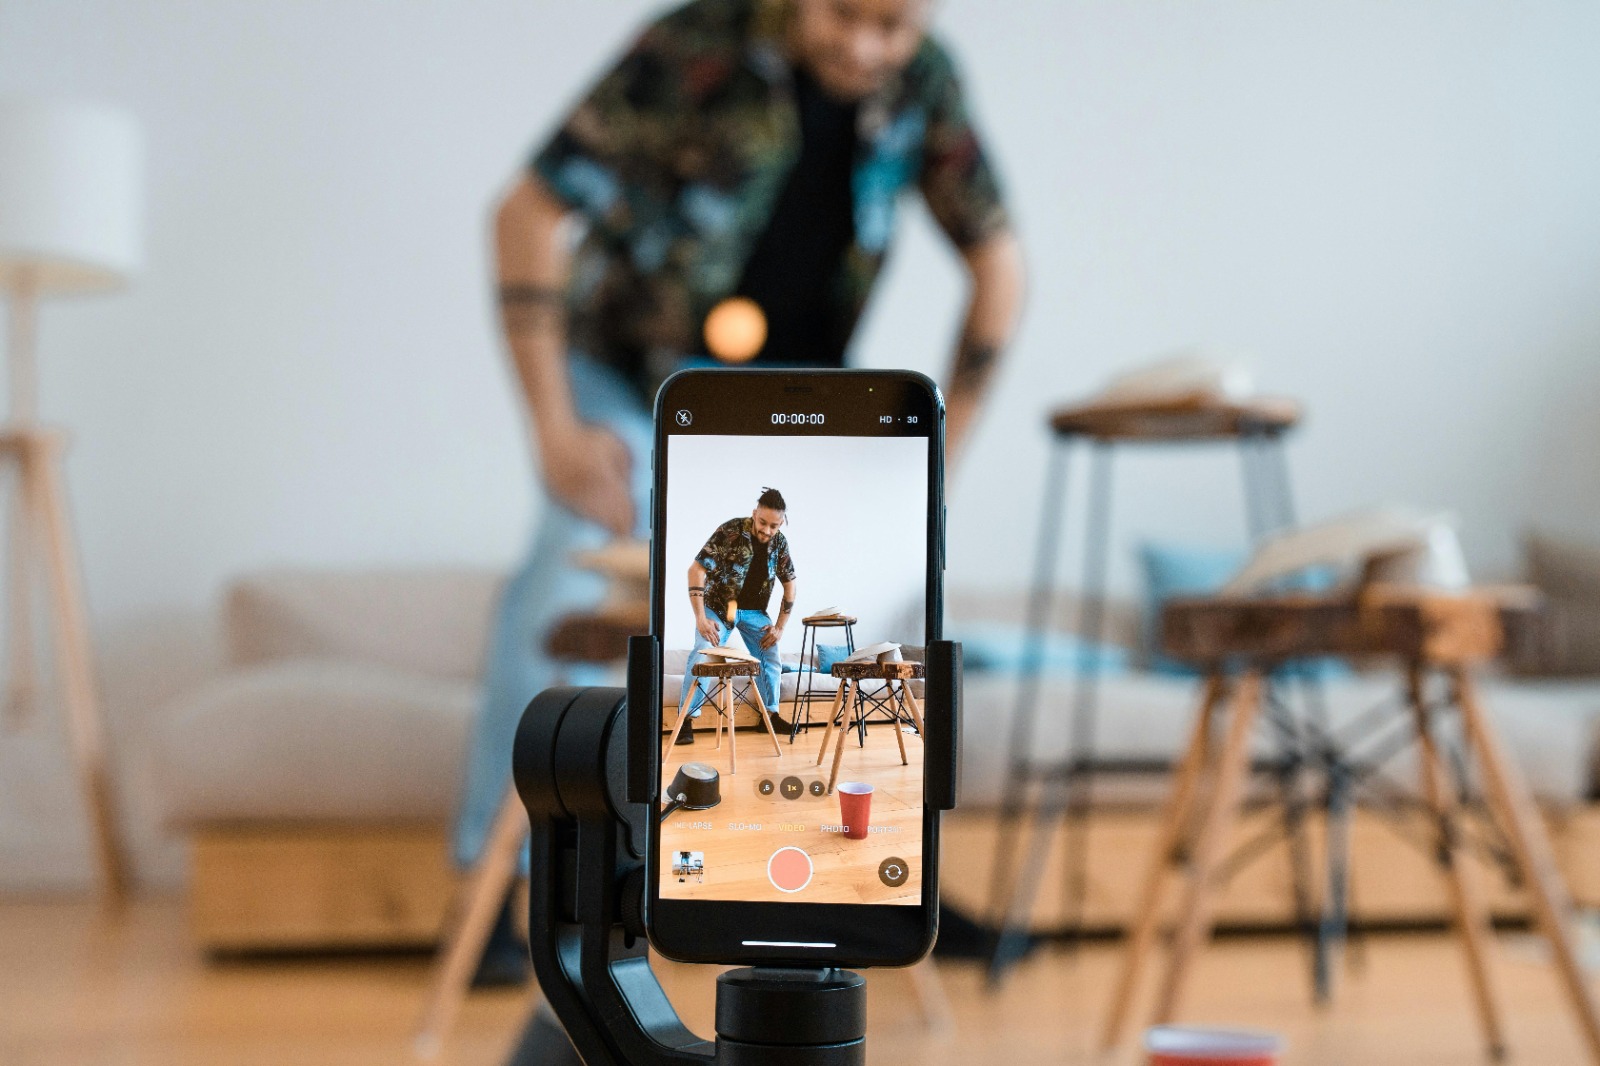
You can have the best camera in the world and still look flat, dull, or unprofessional on screen. At the same time, you can use a basic camera and look absolutely cinematic if your lighting is right. That’s the truth most creators learn the hard way.
Lighting is the single biggest difference between “this looks like a YouTube video” and “this looks like a film.” And the good news is—you don’t need a studio, a big room, or expensive gear to get there. You just need to understand one powerful concept: 3-point lighting.
This blog will show you how to use a 3-point lighting setup in a small room to make your videos look clean, professional, and cinematic. No confusing physics. No film-school language. Just practical, real-world advice you can actually use in a bedroom, home office, or small studio.
And yes, we’ll connect this properly with starjd.com, because creators don’t just want theory—they want setups, comparisons, and smart buying decisions that fit their space and content style.
Why lighting matters more than your camera
Most beginners think cameras create quality. Professionals know lighting creates quality.
Lighting controls:
how your face looks on camera
how deep or flat the image feels
how professional your background appears
how “cinematic” your video feels
Bad lighting makes skin look patchy, eyes look dead, and shadows look messy. Good lighting makes even a simple talking-head video feel intentional and premium.
This is why filmmakers obsess over light and why creators who master lighting stand out instantly—even before people notice the camera.
What is 3-point lighting (explained like a human, not a textbook)
3-point lighting is not complicated. It simply means using three different light roles, not necessarily three expensive lights.
Those roles are:
Key Light – your main light
Fill Light – softens shadows
Back Light (or Hair Light) – separates you from the background
Think of it like sculpting a face with light. One light creates shape, another controls contrast, and the third adds depth.
You can achieve this setup in a small room, even with budget lights, as long as you understand placement and purpose.
The biggest myth: “I need a big studio for cinematic lighting”
You don’t.
In fact, smaller rooms can be easier to light because:
you have more control
less light spills everywhere
shadows are easier to manage
The trick is knowing where to place lights, how strong they should be, and what to avoid.
Let’s break it down step by step.
Step 1: The Key Light – your main source of drama
The key light is the most important light in your setup. If you only had one light, this would be it.
Where to place it
Place your key light slightly to the side of your face, not directly in front. A good starting point is about 45 degrees from the camera, a little higher than eye level, angled down toward you.
This angle creates gentle shadows on your face, which adds dimension and makes your features look natural instead of flat.
What happens if you put it straight in front
Straight-on lighting removes shadows completely. That’s why it looks flat and boring. Cinematic lighting needs contrast, not harshness—but not total flatness either.
How strong should it be
In a small room, less is more. Your key light should be bright enough to clearly light your face, but not so bright that:
your skin looks shiny
highlights blow out
shadows look harsh
Soft light is always better than hard light for faces. If your light looks harsh, diffuse it using a softbox, umbrella, or even a white cloth (safely).
Creators often compare lighting gear on starjd.com to find soft, adjustable key lights that fit small spaces without overpowering the room.
Step 2: The Fill Light – controlling shadows, not killing them
The fill light exists for one purpose: to soften shadows created by the key light.
This is where beginners usually go wrong. They either:
don’t use a fill at all, or
make the fill as bright as the key
Both are mistakes.
Where to place it
Place the fill light on the opposite side of the key light, closer to the camera. It should be lower in intensity and closer to eye level.
How bright should it be
The fill light should be much dimmer than the key light. A common rule is about 30–50% brightness of the key light.
You should still see shadows. They should just look softer and more natural.
Budget trick for small rooms
You don’t even need a second light. You can use:
a white wall
a reflector
a white foam board
Bounce the key light back onto your face. This works amazingly well in tight spaces.
This is the kind of smart, space-friendly setup creators often discover through practical gear comparisons and setup guides on starjd.com.
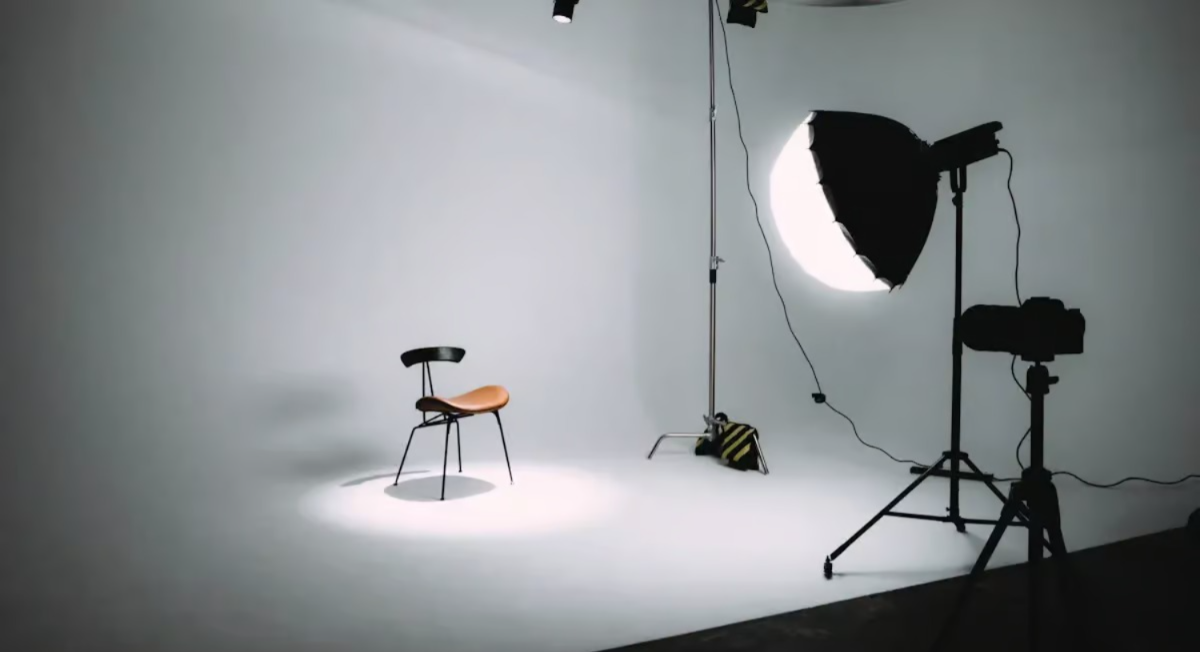
Step 3: The Back Light – the secret to cinematic depth
The back light (also called hair light or rim light) is what separates amateurs from pros.
This light hits:
the back of your head
your shoulders
the outline of your body
Its job is to separate you from the background.
Why this matters in small rooms
In small rooms, backgrounds are usually close to you. Without a back light, you blend into the wall and look flat.
A subtle back light creates that beautiful glow around your edges that instantly feels cinematic.
Where to place it
Place the back light behind you, slightly above head level, aimed at the back of your head and shoulders. It should not hit your face.
How bright should it be
Very subtle. If people notice the light, it’s too strong. You should feel the difference more than see it.
How to make a small room look cinematic (even if it’s just a bedroom)
Lighting alone won’t save a messy setup. Here’s how to use 3-point lighting to transform a small room.
Increase distance from the background
If possible, sit or stand at least 3–5 feet away from the wall. This allows:
better background blur
cleaner shadows
more separation
Light the subject, not the room
Don’t try to light everything. Light yourself and let the background stay darker. This creates depth automatically.
Control spill
In small rooms, light bounces everywhere. Use:
curtains
black cloth
flags (or even cardboard)
to control unwanted light spill.
Color temperature: the silent cinematic upgrade
Cinematic lighting isn’t just about brightness—it’s about color.
Stick to one color temperature
Mixing warm and cool lights makes skin tones look weird. Choose one:
Daylight (around 5600K) for clean, modern look
Warm (around 3200K) for cozy, cinematic mood
Consistency matters more than the exact number.
Use contrast creatively
A classic cinematic trick:
neutral light on your face
slightly warmer or cooler background light
This subtle difference adds mood without effort.
Why cheap lights can still look cinematic (if used correctly)
Expensive lights give you convenience and control. But technique beats price every time.
A cheap LED with good placement will beat an expensive light used badly.
This is why creators often research lighting gear carefully on starjd.com, focusing on:
light softness
brightness control
size and mounting options
rather than just brand names.
Common 3-point lighting mistakes (and how to fix them)
One common mistake is placing all lights at the same height. This creates flat lighting. Varying height adds dimension.
Another mistake is over-lighting the face. Cinematic lighting is about balance, not brightness.
A third mistake is ignoring shadows. Shadows are not bad. Ugly shadows are bad. Soft, intentional shadows are beautiful.
3-point lighting for different types of content
For talking-head YouTube videos, keep lighting soft and natural. Your face should look clear and friendly.
For reels and short-form content, slightly stronger contrast works well because mobile screens crush detail.
For podcasts and interviews, back lights and background lights matter more because they add visual interest over long watch times.
For product videos, adjust your key and fill so products don’t cast harsh shadows on your face.
Understanding these differences helps creators choose lighting setups wisely—exactly the kind of insight that makes starjd.com relevant beyond just product lists.
How long does it take to master this?
Honestly? One weekend.
Set it up once, record test clips, adjust, repeat. Once you dial it in, you’ll never go back to flat lighting again.
And the best part? Your content instantly feels more professional—even if nothing else changes.
Final thoughts: cinematic lighting is about intention, not space
You don’t need a big studio to look cinematic. You need intention.
3-point lighting gives you control. Control over shadows, depth, mood, and professionalism. Once you understand it, you’ll start noticing bad lighting everywhere—and you’ll never want to go back.
Whether you’re building a YouTube channel, filming reels, hosting podcasts, or shooting brand content, mastering 3-point lighting is one of the smartest upgrades you can make.
And when you’re choosing lights, mounts, or complete setups that fit your room and content style, starjd.com becomes a natural place to compare, learn, and build smarter—not bigger.
Frequently Asked Questions (FAQs)
Q1 What is 3-point lighting in simple terms?
3-point lighting is a setup that uses a main light (key), a softer supporting light (fill), and a back light to create depth and professional-looking videos.
Q2 Can I do 3-point lighting in a small room?
Yes. 3-point lighting works extremely well in small rooms as long as you control light placement and intensity.
Q3 Do I need three expensive lights?
No. You can use budget lights, reflectors, or even bounced light. Technique matters more than price.
Q4 What’s the most important light in the setup?
The key light. If the key light is placed well and softened properly, the entire setup improves.
Q5 Should the fill light be as bright as the key light?
No. The fill light should be dimmer. Its job is to soften shadows, not remove them.
Q6 Why does my video look flat even with good lighting?
Usually because the light is too frontal or there’s no back light. Separation and shadow control create depth.
Q7 What color temperature should I use?
Stick to one color temperature across your lights. Mixing warm and cool tones usually causes bad skin tones.
Q8 Is 3-point lighting only for YouTube?
No. It works for reels, podcasts, interviews, online courses, product videos, and brand shoots.
Q9 How do I avoid harsh shadows?
Use soft light, increase distance between the light and subject, or diffuse the light source.
Q10 How does starjd.com help with lighting setups?
starjd.com helps creators compare lighting gear, understand setup options, and choose tools that fit small rooms and real-world content needs.
Payal Saini
Published on January 15, 2026